INTRODUCTION TO CABLING
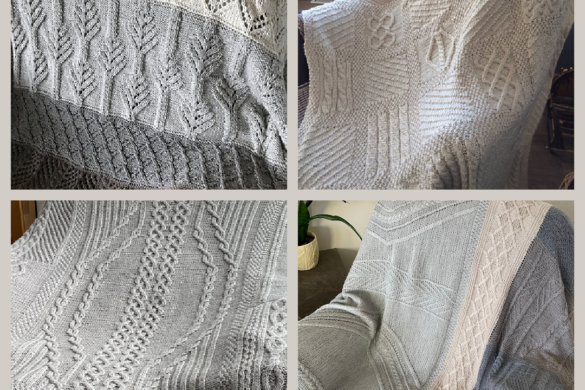
Have you ever wondered how to braid when knitting? Cables are one of my most favourite stitches in knitting. They are relatively easy to tackle and they look so neat! There are so many different cables that one could use. I am always on the look out for interesting cables to design with.
One might be intimidated by cabling. It may seem quite complex. But, in reality, it is actually quite simple. Once you know the basic cable technique, you can tackle complex cable patterns. Cabling requires one extra needle. A cable needle. You can purchase a special needle for cabling. However, I have found that my dpns (double pointed needles) work well.
The basic technique of cabling is crossing stitches either to the left or the right. A set amount of stitches are placed on a cable needle (or dpn) and set to the front or back of your work. A set amount of stitches are then knit from your left needle. The next step is to knit the stitches from the cable needle or dpn. This allows the stitches to be twisted.
A common abbreviation for cabling is C#B or C#F. The # indicates how many stitches are involved in the cabling.
B and F stand for back and front.
To learn the basic cable, follow along with the pictures below, then try the pattern I’ve included below that! Refer back to the photos for direction when following the pattern. Enjoy!
C4B – Cable 4 back
Slip (purlwise) the next 2 stitches onto a cable needle and place to the back of your work.
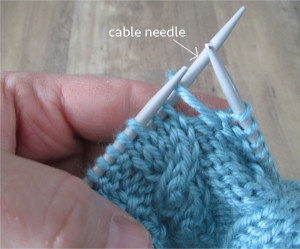
Knit 2 stitches from your left needle and then knit the two stitches from your cable needle.
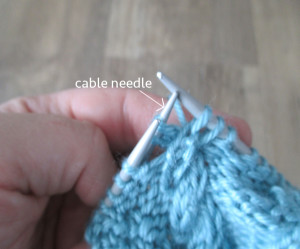
This twists the stitches to the right.
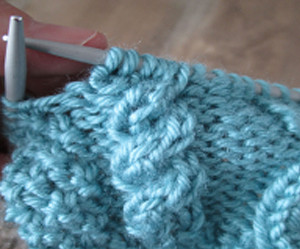
C4F – Cable 4 front
Slip (purlwise) the next 2 stitches onto a cable needle and place to the front of your work.

Knit 2 stitches from your left needle and then knit the two stitches from your cable needle.
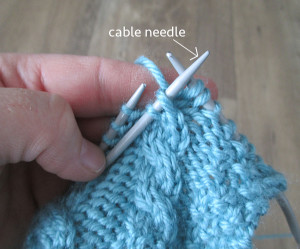
This twists the stitches to the left.
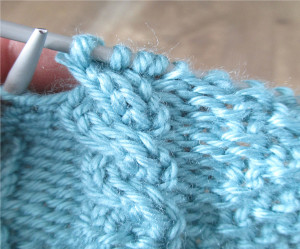
C6B – Cable 6 back
Slip (purlwise) the next 3 stitches onto a cable needle and place to the back of your work.
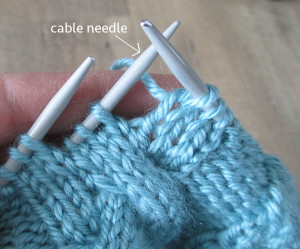
Knit 3 stitches from our left needle and then knit the 3 stitches from your cable needle.
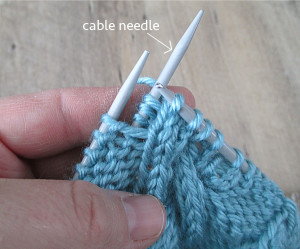
This twists the stitches to the right.
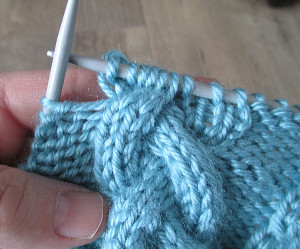
C6F – Cable 6 front
Slip (purlwise) the next 3 stitches onto a cable needle and place to the front of your work.
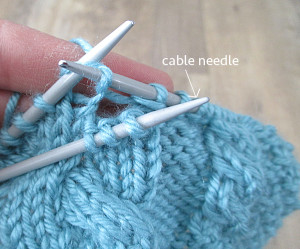
Knit 3 stitches from your left needle and then knit the 3 stitches from your cable needle.
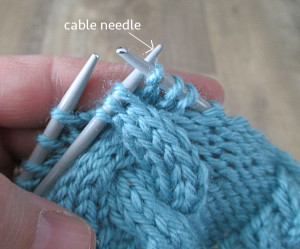
This twists the stitches to the left.
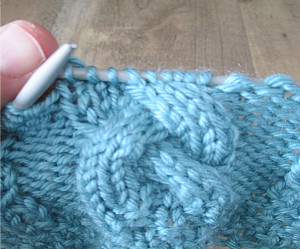
Try what you have learned!
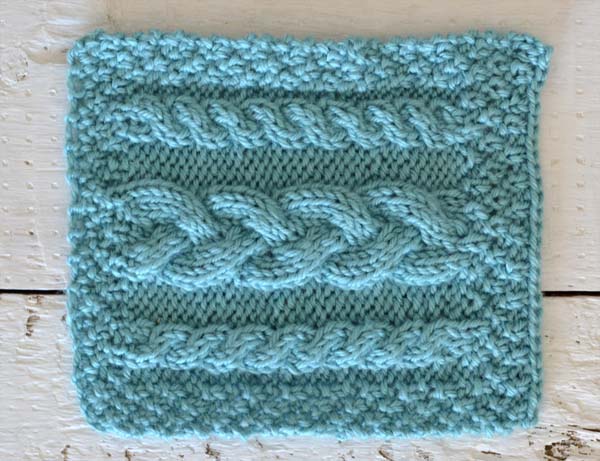
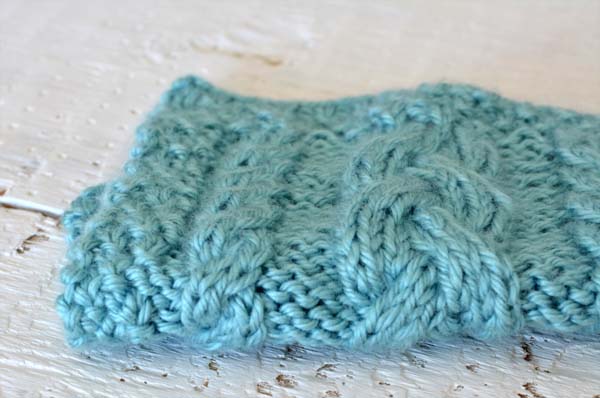
I have created a simple cable square pattern with a moss stitch border.
This will give you great practice on the above cables.
Yarn: Any worsted weight yarn
Needles: 5 mm [8 US] needles (size doesn’t really matter)
Cast on 29 stitches.
Row 1(RS): ( k1, p1) repeat to last stitch, k1
Row 2 and all wrong side rows: Work each stitch in manner it presents.
Row 3: (p1, k1), repeat to last stitch, p1
Row 5: (k1, p1) repeat to last stitch, k1
Row 7: (p1, k1)x2, p2, kfb, kfb, p4, kfb, kfb, kfb, kfb, k1, p4, kfb, kfb, p2, (k1, p1)x2 (37 sts)
Row 9: (k1, p1)x2, p2, k4, p4, k9, p4, k4, p2, (p1, k1)x2
Row 11: (p1, k1)x2, p2, C4F, p4, C6F, k3, p4, C4B, p2, (k1, p1)x2
Row 13: k1, p1)x2, p2, k4, p4, k9, p4, k4, p2, (p1, k1)x2
Row 15: (p1, k1)x2, p2, C4F, p4, k3, C6B, p4, C4B, p2, (k1, p1)x2
Repeat rows 8 – 15 five times. Ending with row 8.
Moss Border:
Row 1(RS): (p1, k1)x3, p2tog, k2tog, (p1, k1)x2, (p2tog, k2tog)x2, p1, (k1, p1)x2, k2tog, p2tog, (k1, p1)x3 (29 sts)
Row 2 and all wrong side rows: Work each stitch in manner it presents.
Row 3: (k1, p1) repeat to last stitch, k1
Row 5: (p1, k1) repeat for last stitch, p1
Row 7: Bind off knitwise, loosely.
Work in all tail ends.
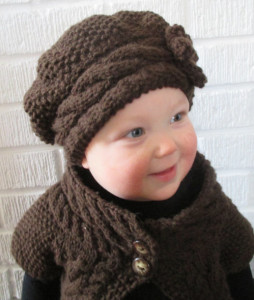
Little Miss Susie’s Slouch Hat
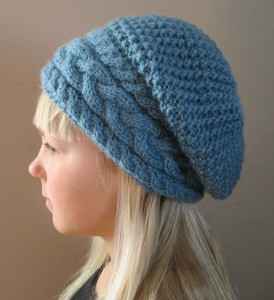
Stillness of Winter Slouch Hat
Enjoy and Happy Knitting!
Subscribe to KnotEnufKnitting’s newsletter for more knitting conversation and tips! Click Here to Subscribe and get your first pattern free!


